Product Launch Content Plan for Small Online Stores
A product launch content plan helps a small online store explain one offer clearly across its website, email, and social channels. Instead of creating disconnected posts at the last minute, the plan starts with the buyer’s questions and turns each answer into a useful content asset.
This approach does not require a large team or a month of hype. It requires a specific promise, credible product information, a manageable publishing sequence, and a clear way to learn from the response. The following framework is designed for small e-commerce teams, solo store owners, and creators preparing a new product or collection.
Disclosure: This article contains affiliate links. EcomArena may earn a commission from qualifying purchases at no additional cost to you.
Start with the buying decision, not the posting calendar
A calendar tells you when content will appear. It does not tell you whether that content helps someone decide. Before assigning dates, write down the practical decision a shopper is making. They may be deciding whether the product fits their needs, whether the quality justifies the price, whether delivery will arrive on time, or whether they can trust an unfamiliar store.
Turn those uncertainties into a short question list. A typical launch may need to answer:
- Who is this product for, and who is it not for?
- What problem or task does it address?
- What is included in the purchase?
- How is it different from the closest alternative?
- What evidence supports the product claims?
- What are the delivery, return, and support terms?
This question list becomes the foundation of the campaign. It also prevents a common launch mistake: publishing many visually attractive posts that repeat the same vague benefit.
Write a one-page product launch brief
The launch brief is the reference point for every page, email, image, and video. Keep it short enough that collaborators will actually use it. Include the product name, target customer, main use case, primary promise, supporting facts, offer details, launch window, and the single most important action you want the audience to take.
Add a section for boundaries. List claims that should not be made, features that are still subject to change, stock or delivery limitations, and questions that require approval before answering. Clear boundaries make content faster to review and reduce the risk of contradictory messaging.
If the store itself is still being prepared, a hosted platform such as Shopify can provide the storefront and product-page foundation. The campaign should point to one stable destination rather than several incomplete pages.
Choose one central campaign promise
A launch becomes difficult to understand when every channel uses a different promise. Choose one central idea that is specific, useful, and supportable. It should connect the product to a meaningful customer outcome without exaggerating what the product can do.
For example, “a better way to organize small spaces” is more useful than “the product everyone needs.” The first statement gives the team a direction for demonstrations, comparisons, and frequently asked questions. The second relies on excitement without explaining value.
Then create three supporting message pillars. A practical set is:
- Problem: the situation the customer recognizes.
- Proof: the feature, demonstration, material, process, or specification that supports the promise.
- Practical outcome: what becomes easier, clearer, faster, or more reliable for the buyer.
These pillars should appear consistently across the product page and campaign, but the wording can change to suit each format.
Build the destination page before creating traffic
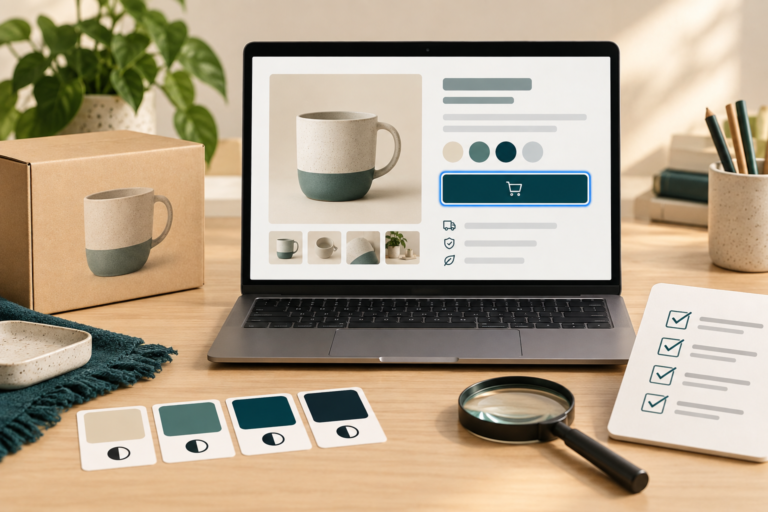
Social content cannot repair a confusing product page. Complete the core destination before the campaign begins. The page should identify the product quickly, show it in context, explain important specifications, answer common objections, and make delivery and return information easy to find.
Use the e-commerce product content checklist to review photos, video, and copy together. If shoppers will compare several versions, the product comparison page guide can help you present meaningful differences without overwhelming them.
Test the page on a phone. Read the first screen as if you know nothing about the product. Then check variant selection, shipping information, add-to-cart behavior, and the complete buying journey. Every campaign link should lead to the final secure page, not a temporary preview.
Create the campaign asset list
Once the destination is ready, convert the buyer-question list into assets. A lean product launch usually needs fewer assets than teams expect, provided each one has a clear purpose.
A practical starter set includes:
- One clean product image that establishes the offer.
- Two or three images showing scale, detail, or use.
- One short demonstration video.
- One comparison, specification, or “what is included” graphic.
- One FAQ or objection-handling post.
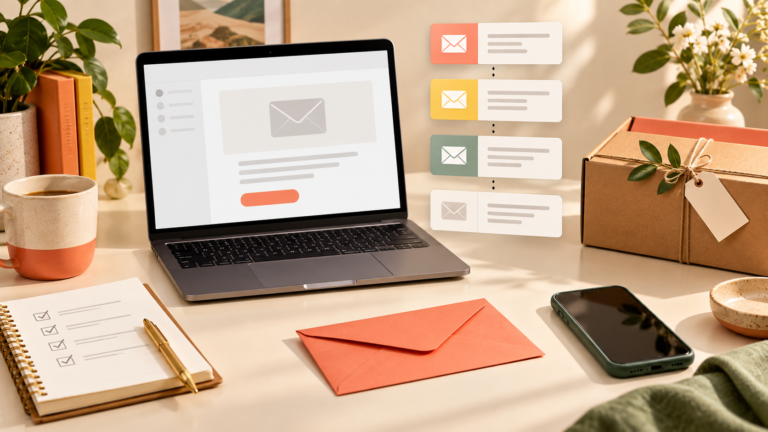
- One email announcing availability.
- One reminder focused on a different buyer question.
Use a shared asset library so the approved product name, colors, images, specifications, and disclaimers stay consistent. The brand asset library guide explains how to organize those materials without creating a complicated system.
For campaign graphics, Kittl offers design tools for branded marketing assets. Whatever tool you choose, prepare a small set of reusable layout rules rather than redesigning the visual identity for every post.
Plan a useful product demonstration
A demonstration should answer a real question, not merely rotate the product in front of the camera. Choose one task or objection per video. Show the starting situation, the product in use, the detail that supports the claim, and the result. If a limitation affects the buying decision, show it honestly.
Prepare the opening hook, shot list, proof points, captions, and call to action before recording. The short-form video content brief provides a repeatable structure for that work.
If the team needs a browser-based production workflow, InVideo can help assemble short marketing videos. Keep the final edit focused: remove repeated shots, use readable captions, and give the viewer enough time to understand important details.
Use a three-phase publishing sequence
Phase 1: Prepare the audience
Before launch, publish content related to the problem and buying context. This is not the time for empty mystery posts. Share a checklist, common mistake, short educational tip, or behind-the-scenes decision that will help the eventual product explanation make sense.
Phase 2: Explain the offer
On launch day, make the announcement direct. State what is available, who it is for, the main benefit, the supporting proof, and where to see the details. Follow with a demonstration or FAQ asset later rather than repeating the announcement word for word.
Phase 3: Resolve uncertainty
After launch, use genuine questions to guide the next content. Clarify sizing, setup, compatibility, materials, delivery, returns, or use cases. If people are viewing but not buying, inspect the destination and offer before increasing posting frequency.
This three-phase structure can fit seven days or several weeks. The right pace depends on how much attention the audience already gives the brand and how complex the purchase is.
Adapt the message by channel
Repurposing should preserve the underlying answer while changing the presentation. A product-page section may become a searchable Pinterest graphic. A demonstration can become a short vertical video. A detailed email may become a concise Facebook post that highlights one useful consideration and links to the complete page.
Do not paste identical copy everywhere. Pinterest needs a clear searchable title and a destination that matches it. Facebook benefits from a natural hook and readable spacing. Email can provide more context. The website remains the authoritative source for specifications, pricing, and policies.
When several people are involved, use the social media content approval workflow to define who checks claims, design, links, and scheduling. One final approver is usually more efficient than several uncoordinated opinions.
Create a seven-day launch calendar
A simple launch calendar might look like this:
- Day 1: teach the core problem or buying consideration.
- Day 2: show a behind-the-scenes product decision.
- Day 3: introduce the product with the central promise.
- Day 4: demonstrate one important use case.
- Day 5: answer the most common question.
- Day 6: compare options or explain what is included.
- Day 7: summarize the offer and invite the next action.
Assign a destination, owner, asset, and approval deadline to every item. If any entry lacks a purpose, remove it. A smaller complete campaign is stronger than a crowded calendar full of unfinished ideas.
Check the campaign before scheduling
Open every destination link and confirm that tracked parameters do not break the page. Review all dates, prices, product names, variants, and policy statements. Check spelling on images separately because errors embedded in graphics are easy to miss during copy review.
Confirm that the visual matches the message. A comparison post should show the relevant difference; a demonstration post should show the product in use; an FAQ post should make the question obvious. Add alternative text where the publishing channel supports it.
Finally, complete a test purchase or at least a full checkout audit before sending meaningful traffic. The e-commerce checkout audit covers the path from landing page to confirmation.
Measure signals that improve the next launch
Do not judge the launch only by likes. Track visits to the product page, add-to-cart actions, completed purchases, email clicks, saves, video completion, and the questions received. The most useful metrics depend on the role of each asset.
For example, an educational Pin may be valuable because it earns saves and qualified visits over time. A product demonstration may be valuable because it increases add-to-cart activity. An FAQ post may reduce repetitive support questions even if its reach is modest.
Record what happened in a short review: which promise earned attention, which question appeared repeatedly, where shoppers left the buying path, and which asset deserves another version. Avoid making large conclusions from a tiny audience or one unusually strong post.
Product launch content checklist
- Define the buyer, decision, promise, proof, and action.
- List the questions the campaign must answer.
- Complete and test the destination page.
- Create only the assets needed for specific jobs.
- Prepare demonstrations with a brief and shot list.
- Sequence content before, during, and after launch.
- Adapt the same answer appropriately for each channel.
- Verify claims, links, dates, visuals, and policies.
- Review meaningful buyer actions and questions afterward.
Frequently asked questions
How long should a product launch campaign run?
A small launch can use a focused seven-day sequence, while a more complex or expensive product may need several weeks of education and follow-up. Choose the duration based on the buying decision, not an arbitrary content target.
How many social posts are needed?
There is no universal number. Create enough posts to introduce the offer, demonstrate it, answer important questions, and direct people to the full details. Each post should have a distinct job.
Should a small store use discounts at launch?
Only when the discount supports the business model and is explained clearly. A launch can also emphasize early availability, a useful bundle, limited stock, or simply a well-supported product promise. Never invent urgency.
What if the campaign receives little engagement?
Check whether the content reached the right audience, whether the promise was clear, and whether the destination removed uncertainty. Use the evidence to revise one element at a time rather than immediately publishing more of the same content.
Final takeaway
A practical product launch content plan connects customer questions to a clear product page, a focused set of assets, and a manageable publishing sequence. Start with the buying decision, support the promise with evidence, and make every channel lead to accurate details. After launch, use buyer behavior and questions to improve the next campaign.