Video Content Quality-Control Checklist Before Publishing
Publishing a video is easy. Publishing one that is accurate, readable, accessible, on-brand, and ready to support a business goal takes a little more care. A video content quality-control checklist gives small teams a repeatable final review so they can catch distracting mistakes before viewers do.
This process is not about making every video look expensive. It is about making sure the finished piece does what it promises. A useful quality check covers the message, picture, sound, captions, branding, links, rights, and final platform settings. The same checklist can work for short social clips, product demonstrations, tutorials, ads, and longer educational videos.
Disclosure: This article contains affiliate links. If you buy through one of them, EcomArena may earn a commission at no extra cost to you.
Why video quality control matters
Viewers do not separate your script from your audio, captions, thumbnail, or landing page. They experience the whole journey. A strong explanation can still fail if the sound is difficult to understand. A polished product demonstration can create confusion if its call to action leads to the wrong page. A useful Reel can lose attention when captions cover an important visual.
A final review protects three things: clarity, trust, and production time. It catches errors before they require a public correction, keeps recurring content consistent, and gives collaborators an objective way to approve a video. It also makes future production faster because common mistakes become visible patterns rather than recurring surprises.
Quality control should begin before recording. Use a clear short-form video content brief to define the audience, promise, proof, format, and next action. The final checklist then confirms that the finished video still matches that plan.
1. Confirm the purpose and viewer promise
Watch the video once without stopping. Ask what a first-time viewer would believe the video is about after the opening few seconds. The answer should match the title, thumbnail, caption, and actual content. If the hook promises three steps, the video should clearly deliver three steps. If the title says “beginner guide,” unexplained specialist language should not dominate the presentation.
Check that the video serves one primary purpose. It may educate, demonstrate, compare, answer a question, or encourage a next step. Trying to teach, sell, entertain, and explain several unrelated offers in one short piece usually weakens all of them.
- Is the intended audience obvious?
- Does the opening state or demonstrate a real benefit?
- Does every major section support the main promise?
- Is the call to action a logical next step?
Remove claims that cannot be supported. Avoid guaranteed outcomes, invented results, and urgency that is not real. When a result depends on effort, budget, platform conditions, or experience, say so plainly. Trustworthy limits make practical advice more credible.
2. Review the edit for structure and pacing
Now watch again and pause at each transition. The viewer should be able to follow the sequence without guessing why the subject changed. For a tutorial, the steps should appear in working order. For a comparison, the same criteria should be used for each option. For a product video, show the problem, the relevant feature, the feature in use, and the realistic outcome.
The goal is not relentless speed. Good pacing gives important information enough time to register while removing repetition, long pauses, and sections that do not advance the point. A half-second trim can help a short clip, but excessive jump cuts can feel tiring. Let the format and audience determine the rhythm.
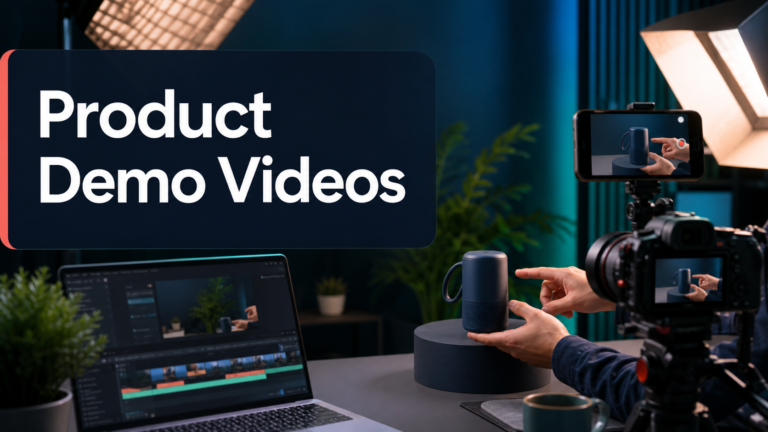
For demonstrations, compare the edit with a planned product demo shot list. Confirm that the finished video answers genuine buying questions instead of showing attractive footage without useful context.
3. Inspect every frame and graphic
Review the video at full size and at the approximate size viewers will see in a mobile feed. Look for accidental notifications, browser tabs, personal data, customer information, copyrighted artwork, reflections, clutter, and unfinished interface elements. Freeze on transitions because a one-frame flash or blank frame can be easy to miss during normal playback.
Check all on-screen text for spelling, punctuation, capitalization, and consistent terminology. Product names, prices, dates, statistics, and feature descriptions deserve a separate fact check. Text needs enough contrast against the background and enough screen time to be read comfortably.
If you need flexible title cards or thumbnail assets, explore Kittl’s design tools and keep approved colors, type choices, and templates organized. A tool can speed up production, but the final exported design still needs a human spelling and readability check.
Also inspect safe zones. Interface buttons, captions, account names, and description overlays vary across platforms. Keep essential words and product details away from the extreme top, bottom, and sides. Export a clean master when possible, then make platform-specific versions rather than forcing one crop everywhere.
4. Listen to the audio separately
Close your eyes or turn away from the screen and listen from start to finish. Speech should remain understandable without relying on visuals. Listen for sudden volume changes, background hum, clipping, mouth noises, harsh edits, long silences, and music that competes with narration.
Then test with ordinary speakers and headphones. A mix that sounds acceptable on studio headphones may become muddy on a phone. Narration should stay comfortably above music throughout the video, including during transitions and the final call to action.
- Is every spoken sentence complete and intelligible?
- Are cuts free from clicks and abrupt room-tone changes?
- Does music begin and end intentionally?
- Do sound effects support rather than distract?
- Are you licensed to use every music and sound asset?
For teams producing frequent clips, review InVideo’s video creation features as one possible editing workflow. Whichever editor you choose, export a short test before committing to a large batch so you can confirm voice clarity, resolution, and compression.
5. Check captions and accessibility
Automatic captions are a starting point, not a finished deliverable. Read every caption while listening to the audio. Correct names, brands, technical terms, numbers, and punctuation. Break lines at natural phrases and avoid displaying too many words at once.
Captions should be synchronized closely enough that viewers can connect the text to the speaker and action. Make sure they do not cover a product control, face, chart label, or other important visual. If the platform adds its own interface, preview the actual placement before scheduling.
Accessibility also includes meaning that is conveyed only by color or sound. When a demonstration depends on a visual change, explain it in narration or concise text. Use strong contrast, readable type, and plain language. Add useful alternative text where the publishing platform supports it.
6. Verify facts, rights, and disclosures
Create a small source list during production so the final reviewer can verify claims without repeating the research. Check statistics against their original source and confirm that dates and product features are current. If the video mentions a promotion, availability, or price, make clear that it can change.
Verify that your team owns or licenses all footage, photos, music, fonts, templates, and screenshots. Permission to view an asset is not necessarily permission to publish it commercially. Save licenses and contributor approvals with the project files so they can be found later.
Disclose sponsorships, gifted products, and affiliate relationships clearly. A disclosure should be easy to notice and understand; hiding it among hashtags is not a useful standard. The spoken video, on-screen text, and post caption may each need appropriate disclosure depending on the context.
7. Test the call to action and destination
A call to action should tell viewers what to do and why it is worthwhile. “Read the full checklist,” “compare the steps,” or “save this workflow for your next edit” is clearer than a vague “click here.” Keep the destination consistent with the promise made in the video.
Open every link in a private browser window. Confirm that it loads, works on mobile, uses HTTPS, and lands on the intended page. Check buttons, forms, coupon terms, tracking parameters, and redirects. If the campaign depends on a branded website, see Namecheap’s domain options as one available provider, then make sure the chosen domain and destination remain easy to recognize.
The landing page should continue the same message and visual expectation. A video promising a beginner checklist should not send people to an unrelated sales page. Review the complete path from feed impression to destination, including the profile link if the platform does not support clickable caption links.
8. Validate export and platform settings
Confirm the aspect ratio, resolution, frame rate, file type, and duration against the current requirements of the destination platform. Watch the exported file rather than relying only on the editing timeline. Exporting can introduce compression artifacts, missing frames, color shifts, or audio-sync problems.
Give the file a useful name that includes the project, version, format, and date. Keep a clean master without platform watermarks, then store the final caption, title, thumbnail, links, source notes, and approvals beside it. This makes later updates and repurposing much easier.
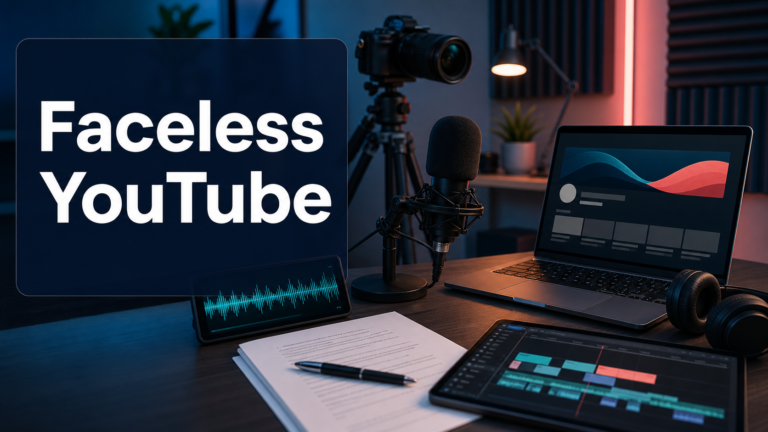
Use the broader video marketing strategy guide to connect each publication to a goal and measurement plan. Teams building narration-led channels can also use the faceless YouTube workflow to organize research, scripts, visuals, and review.
9. Run a two-pass final review
The first pass should focus on the viewer experience. Watch normally, without editing, and note any moment that feels confusing, slow, abrupt, or unconvincing. The second pass should be technical: pause, read, listen, click, and compare every element with the brief.
When possible, have someone who did not edit the video perform the viewer pass. Editors know what a scene is supposed to mean and may unconsciously fill in missing context. A fresh reviewer is more likely to notice an unexplained step or misleading transition.
Record each issue with a timecode, description, owner, and status. Avoid feedback such as “make it better.” A note like “00:18: product label is cropped on mobile; move graphic upward” is faster to resolve and easier to verify.
A reusable pre-publish checklist
- The opening, title, thumbnail, and content make the same promise.
- The video has one clear audience, purpose, and next action.
- Claims, names, prices, dates, and product details are accurate.
- All text is spelled correctly, readable, and inside safe zones.
- Footage is clean and contains no private or accidental information.
- Speech is clear on headphones and ordinary phone speakers.
- Music and sound effects are balanced and properly licensed.
- Captions are accurate, synchronized, and do not block key visuals.
- Sponsorship and affiliate disclosures are clear.
- Every link works and leads to the promised destination.
- The exported file matches platform specifications.
- The final upload preview has been checked before scheduling.
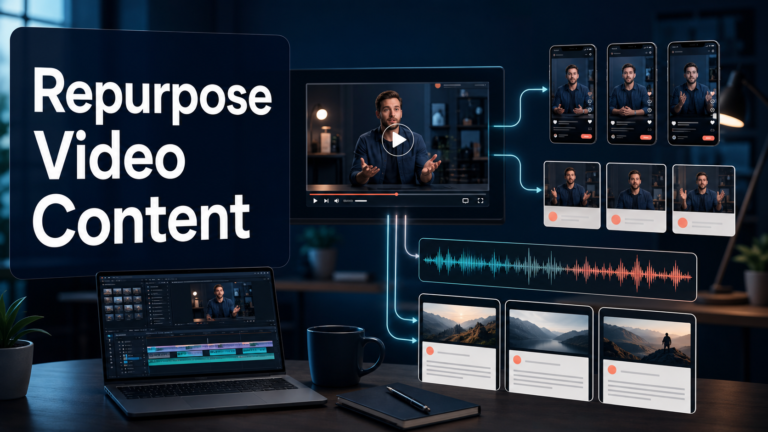
After publishing, save the clean master and turn strong sections into additional formats using a structured video repurposing workflow. Quality control should carry into every derivative clip; a correct long video can still produce a misleading short clip if important context is removed.
Make quality control a small, consistent habit
A checklist works best when it is short enough to use and specific enough to prevent real mistakes. Start with the items above, then add issues your team repeatedly encounters. If caption placement causes trouble, add a mobile safe-zone preview. If links are often wrong, assign one person to verify every destination. If exports vary, create named presets and document them.
The objective is a dependable publishing standard, not perfection. A careful final review helps each video communicate clearly, respect the viewer, and support the next step in your content system. Over time, the checklist becomes less of a delay and more of a production shortcut because fewer mistakes survive to the publishing stage.