E-commerce Product Video Brief: Plan Accurate Videos Before Recording
A product video can look polished and still fail to answer the questions that influence a purchase. Online stores often begin with camera angles, transitions, or music before deciding what the viewer must understand. The result is attractive footage that repeats the product page instead of reducing uncertainty.
This e-commerce product video brief gives small teams a practical structure for planning accurate, useful videos before recording. It covers the audience, objective, proof, shots, claims, accessibility, approvals, and publishing details needed to create a video that supports the buying journey without exaggeration.
Why every product video needs a brief
A brief creates one agreed source of truth for the marketer, product owner, presenter, videographer, and editor. It prevents late changes and helps reviewers judge whether the video is complete. More importantly, it connects each shot to a real buyer question.
The brief should make these points clear:
- Who the video is for and what they already know.
- Which buying question the video will answer.
- What the product can be shown doing accurately.
- Which claims require evidence or qualification.
- Where the video will appear and how long it should be.
- Who must approve the final version.
This planning stage complements a broader short-form video content brief, but product videos require extra attention to scale, materials, operation, limitations, and consistency with the product page.
1. Define one primary viewer
Do not write “everyone who may buy this product.” Choose the person whose uncertainty matters most. A first-time shopper may need a clear overview, while a returning customer may care about the difference between two versions. A buyer comparing alternatives may need measurements, compatibility, or a close view of materials.
Record the viewer in one sentence: “This video is for a shopper who likes the product but is unsure whether it will fit a small workspace.” That statement is more useful than a broad demographic because it gives the video a decision to support.
2. Choose a single job for the video
A product video can demonstrate setup, show scale, explain a feature, compare variants, answer a common objection, or set expectations about use. Trying to do everything usually creates a rushed sequence.
Write one primary objective and one optional secondary objective. For example:
- Primary: show how the product folds and stores.
- Secondary: show the included accessories.
The objective should connect to the page where the video will live. A homepage video introduces value; a product-page video reduces specific uncertainty; a social video earns attention and leads to a useful destination.
3. Turn buyer questions into a proof list
List the questions customers ask before writing the script. Review customer-service messages, returns reasons, product reviews, search queries, and sales conversations. Then decide what visual proof could answer each question.
A proof list might include:
- A hand holding the product to show approximate scale.
- A measuring tape beside the item for exact dimensions.
- A close view of the material, texture, fastener, or connector.
- The full setup process at normal speed.
- The product used in a realistic environment.
- Everything included in the package.
- A limitation or condition that affects performance.
Coordinate this list with the e-commerce product photography shot list. Photos and video should communicate the same facts rather than showing conflicting versions, colors, or accessories.
4. Create a claim and evidence table
Every spoken line, caption, graphic, and demonstration can create an expectation. Separate observable facts from marketing language before production.
For each planned claim, record:
- The exact wording.
- The evidence or source supporting it.
- Any conditions, ranges, or limitations.
- Where the claim also appears on the product page.
- The reviewer who approved it.
Avoid absolute terms such as “best,” “never,” “guaranteed,” or “works for everyone” unless they are accurate, supportable, and appropriate. Demonstrations should use normal conditions. Do not use editing, hidden supports, or unusual preparation to imply performance the buyer cannot reasonably expect.
5. Map the video beat by beat
A simple beat sheet keeps the video focused. Each beat should have a purpose, visual, narration or caption, and estimated duration.
- Context: show the situation or problem without exaggerating it.
- Product introduction: identify the product and the relevant benefit.
- Proof: demonstrate the feature in a clear sequence.
- Detail: show scale, materials, controls, or included items.
- Expectation: mention an important limitation or use condition.
- Next step: direct the viewer to accurate product details.
If a beat does not answer the primary buyer question, remove it or save it for another asset.
6. Specify every essential shot
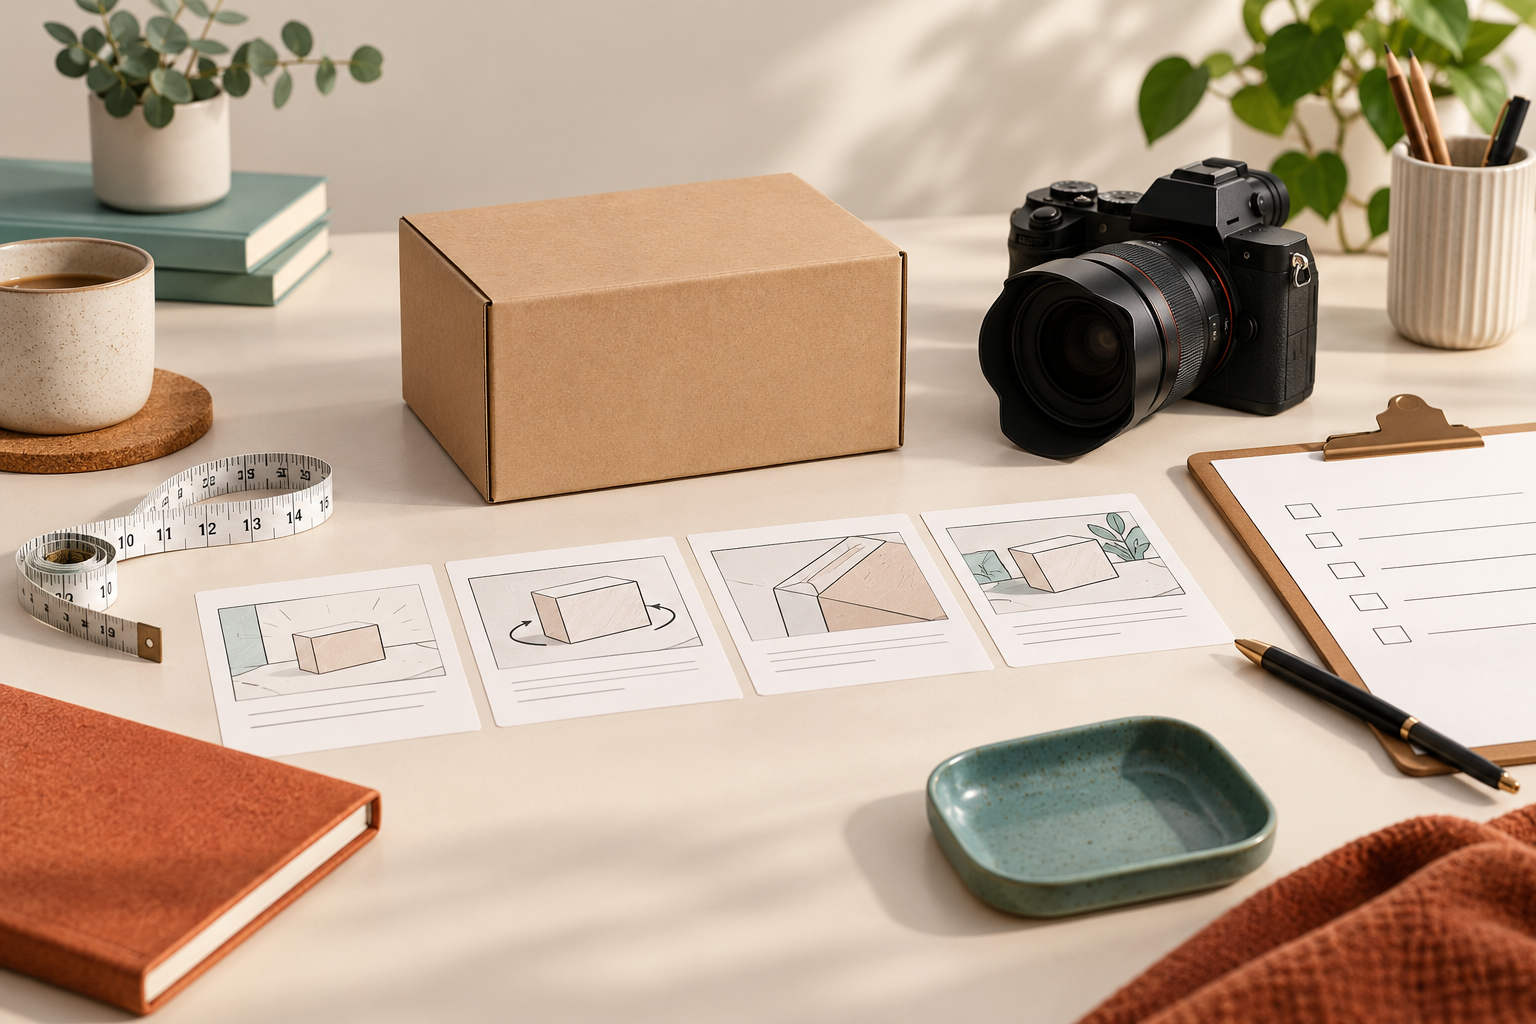
Write the shot list before the filming day. Include framing, action, location, props, product version, and the fact each shot must prove. Useful product-video shots often include:
- A clean establishing shot of the exact product variant.
- Front, back, side, and detail views.
- A scale reference that does not distort size.
- Setup, opening, assembly, or connection steps.
- The product used at a realistic speed.
- Controls or interfaces shown closely enough to understand.
- Included components placed together.
- A closing frame with a clear next step.
Mark shots that cannot be replaced easily, such as unboxing sealed packaging or demonstrating a one-time installation. Capture a safe alternate angle for those moments.
7. Keep product details consistent
Before recording, compare the physical sample with the live product page. Confirm the model, color, packaging, included accessories, dimensions, and current instructions. If the sample is an earlier version, do not present it as the current item.
Use the product content checklist for photos, video, and copy to align the complete page. A mismatch between video and written details can create more uncertainty than having no video at all.
8. Plan captions, graphics, and accessibility
Assume many people will watch without sound. Captions should communicate the essential meaning, not merely decorate the footage. Keep text concise, readable, and visible long enough to process. Avoid placing important text where platform controls may cover it.
Record the required on-screen text exactly in the brief so editors do not invent claims during production. If you create title cards with Kittl, keep the editable design with the approved script and product-version record.
Also prepare descriptive alt text or a transcript where the publishing platform supports it. Color should not be the only way the video communicates a difference.
9. Choose the format for each destination
Record enough resolution and safe framing to create the required versions. A horizontal product-page video, vertical social clip, and square advertisement may need different compositions. Simply cropping the same frame can remove the product or important text.
Tools such as InVideo can help assemble platform-ready versions, while Filmora can support detailed editing and caption work. Whichever workflow you use, export each destination as a controlled deliverable with a clear filename and approval status.
10. Build the approval path into the brief
Define who reviews product accuracy, claims, brand presentation, captions, and final links. One person may cover several roles, but the responsibilities should still be explicit.
Use a short review sequence:
- Product owner checks the sample, features, and included items.
- Marketing checks the objective, message, and destination.
- Editor checks spelling, captions, timing, and visual continuity.
- Final reviewer checks claims, limitations, links, and published metadata.
Apply the video content quality-control checklist to the final export, not only the editing timeline.
11. Define success before publishing
Select measurements that match the video’s job. A setup video may reduce support questions. A product-page demonstration may improve engagement with the page or help qualified shoppers decide. A social clip may be judged by saves, clicks, or useful comments rather than views alone.
Record the baseline, review date, and decision rule. For example: “After four weeks, compare product-page engagement, support questions about setup, and returns linked to misunderstanding.” Do not claim that the video caused a change when other page or campaign changes happened at the same time.
Product video brief template
- Product and version:
- Primary viewer and uncertainty:
- Primary objective:
- Publishing destinations and formats:
- Approved claims and evidence:
- Limitations to communicate:
- Beat sheet and duration:
- Essential shots and props:
- Exact captions and graphics:
- Required transcript or accessibility support:
- Reviewers and approval deadline:
- Tracked destination:
- Success measures and review date:
Make usefulness the production standard
Common brief failures to avoid
Do not begin production with placeholders such as “add benefits here” or “show product in use.” Vague instructions force the filming and editing team to make unreviewed decisions. Replace each placeholder with the exact fact, action, or product detail the shot must communicate.
Avoid copying claims from an old advertisement without checking the current product. Do not approve a storyboard when the exact sample, packaging, or accessories are still unknown. Keep music, transitions, and decorative motion secondary to product visibility. Fast edits should never make setup appear easier or performance faster than normal.
Finally, do not treat the exported file as the end of the workflow. Confirm the correct video is attached to the correct product, the thumbnail represents the content, captions remain synchronized, and the destination link works. Record the live URL and publication date so future updates can find every placement.
A strong product video does not need exaggerated claims or elaborate effects. It needs a clear buyer question, accurate proof, understandable shots, consistent product details, accessible captions, and a controlled approval process.
Start with one high-traffic product that creates repeated questions. Complete the brief, film only the evidence the shopper needs, and compare the result with the existing page. That disciplined process produces a more trustworthy asset and a reusable standard for future product videos.